
 |
| Running and installing from USB |
So once you have got Ubuntu on your live usb drive, you are ready to boot your computer with it. In this article I will go through the process of booting your computer or laptop from a live Ubuntu usb stick and installing Ubuntu on your machine. Let’s go!
Setting up the bios first
If you are booting from a DVD you will probably not have to make any of these changes that I will discuss. Most computers with DVD-players will have the DVD-player set as the first boot device. This means that every time you turn on your computer it will look first for a boot loader on the DVD player. If none is found it will check your hard drive and it will boot from there. Checking the usb drive for a boot loader will usually be disabled as usb drive have a higher risk of transmitting viruses that install at boot time, etc. Therefore, in order to boot from the USB stick you have created, you will enable this in the bios settings of your computer.
Explanations of terms used
Bios; The first piece of software that runs on your computer and which initiates all hardware.
Boot loader: Software that initiates the loading of the operating systems.
Every manufacturer has a slightly different bios. I will show you how I go into the bios of one of my laptops, an Asus eeePC, and set it up for enabling the usb for booting as the second boot device. At boot time I can choose the desired boot device by keeping the ESC-key pressed.
On my Asus I need to press the F2-key at boot in order to access the bios-setup menu. Your bios will probably output a message at the bottom of the screen at the beginning of the boot sequence, which tells you what button you need to press to access the setup menu.
 |
| Pressing F2 at boot time |
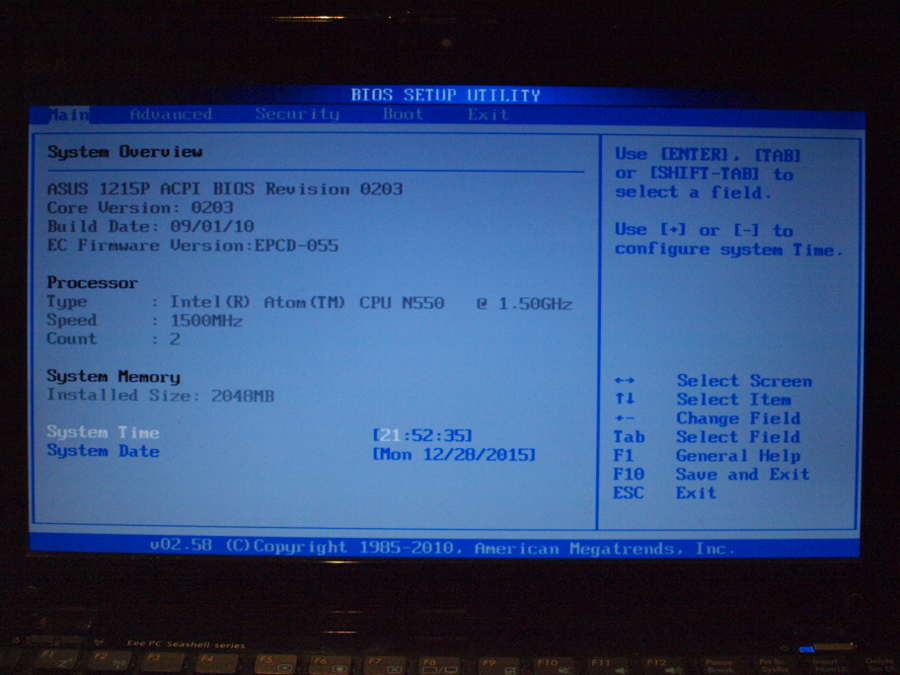
After the initial boot screen the Bios Setup Utility is presented at the Main tab.
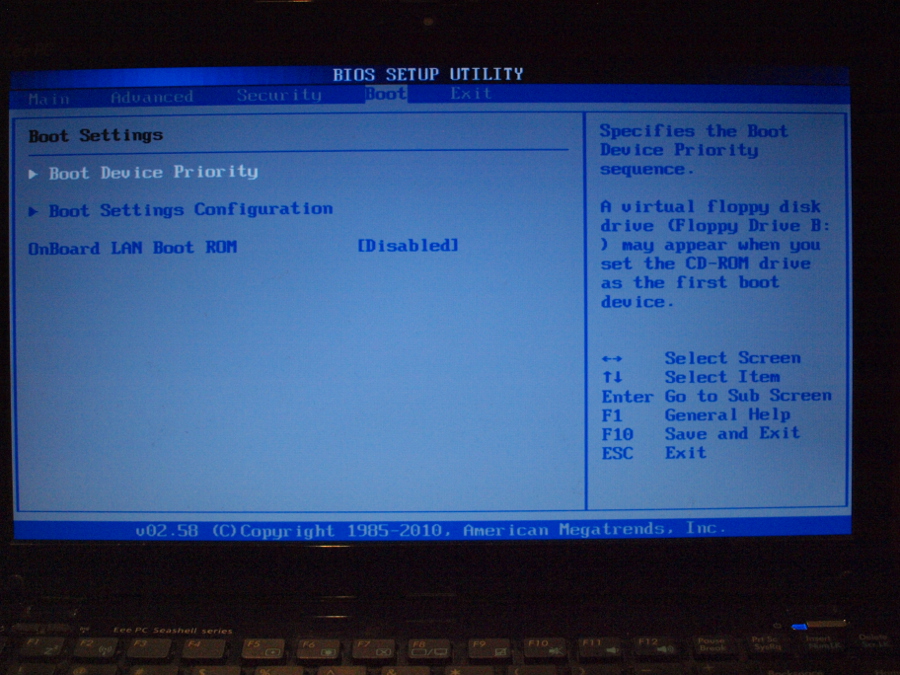
I use the arrow and enter key to navigate to the Boot tab.
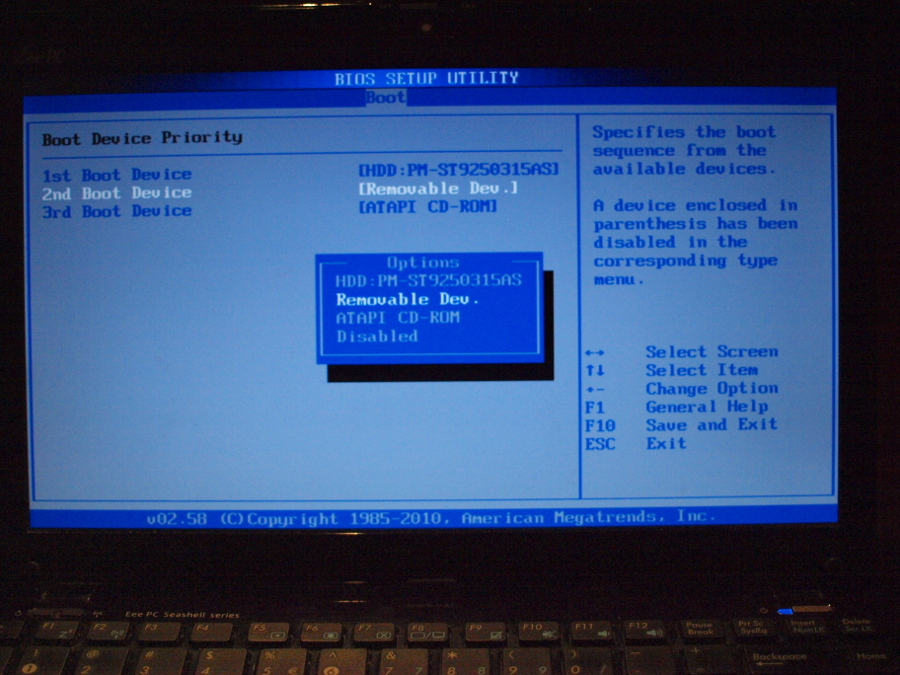
There I move down into the Boot Device Proirity settings. At the second boot device I press enter and I select Removable Dev. and press enter again.
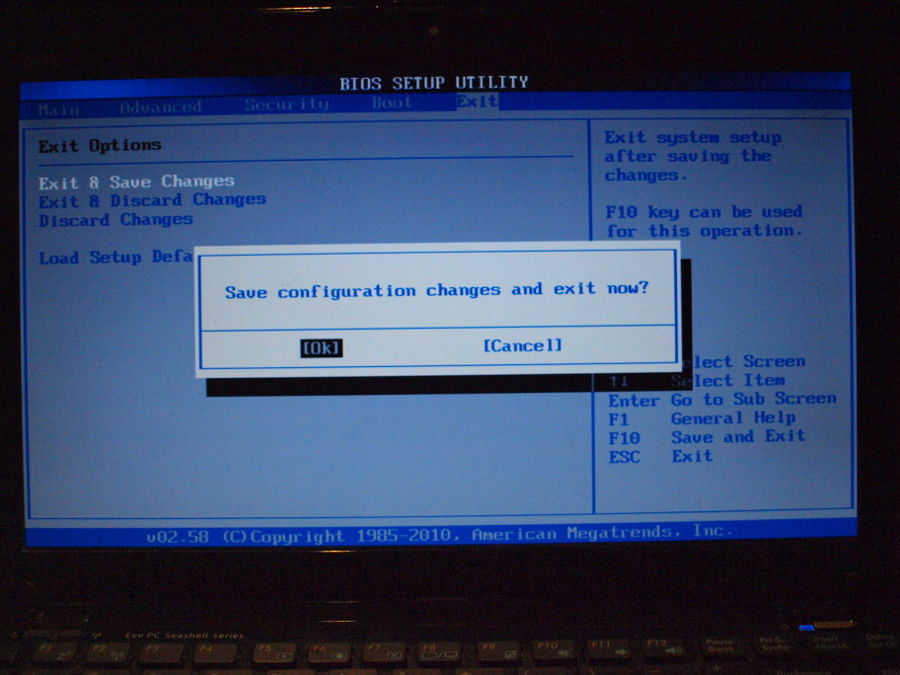
To exit the Bios Setup Utility I keep pressing escape until I see below exit screen, where it says: “Save configuration changes and exit now?”. I press enter for OK.
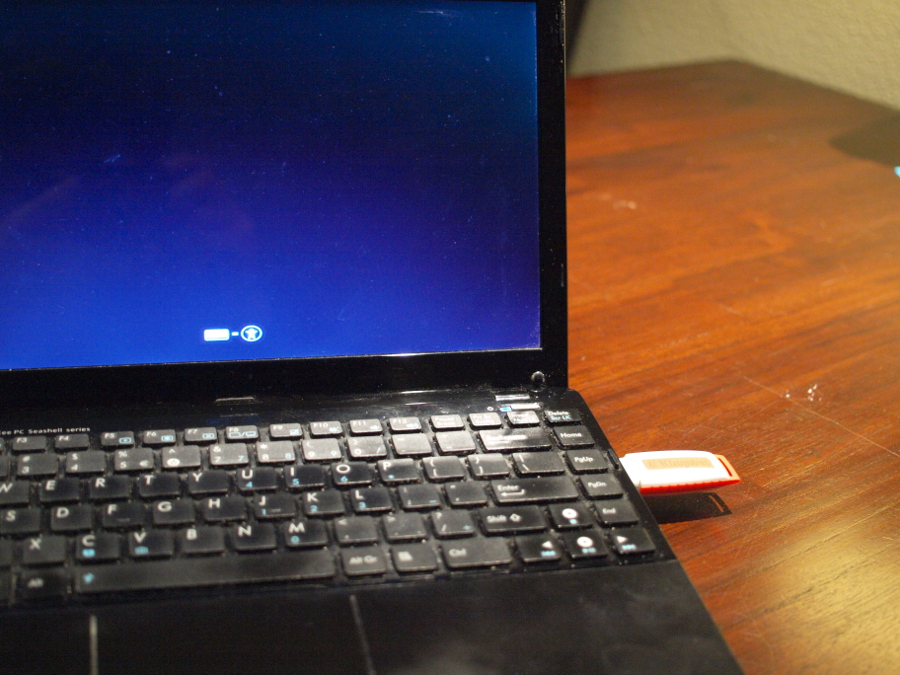
Booting Ubuntu live
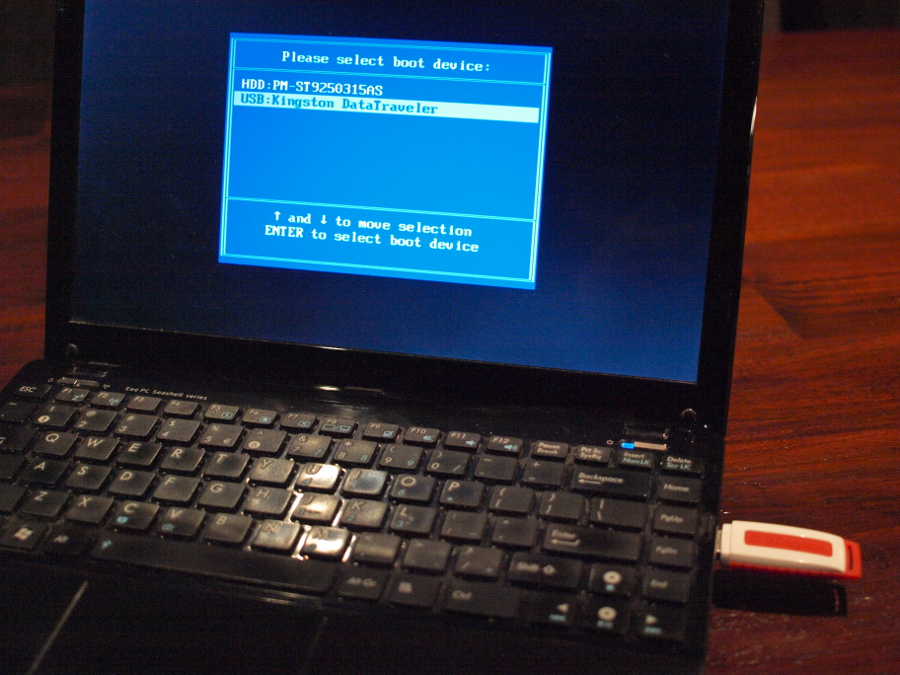
Here I will select the usb drive as the desired boot device. And the laptop is booting from the usb stick as you can see by the Ubuntu Live bootscreen.
Running Ubuntu live
Once the system is loaded you will be presented with below screen, where you can choose to run Ubuntu live or to install Ubuntu on you system. I suggest you try Ubuntu live first to see what it is like. If you then want to install it, you can still do so from the live environment, as you will see later.
 |
| Run or install? |
After clicking try Ubuntu you will be taken to the Ubuntu Desktop called Unity. At first you will be shown a list with all the keyboard shortcuts that are available in Unity. the most important is the Super (windows) key. Pressing key once this will show the Dash. From there you can search for all your apps and files.
 |
| Handy shortcuts |
You can close the shortcuts notification and continue. You can always review the shortcuts by holding the Super-key. Now you can go and get some stuff done, like browse the web using Firefox or edit a spreadsheet using LibreOffice Calc.
 |
| Getting stuff done |
Ubuntu is not all about work, it is also about play and having fun. The Ubuntu image is shipped without adobe flash and without mp3 and mp4 codecs. You can install support for these later and even keep them installed inside your live Ubuntu usb version. I will show how to do this in another article.
 |
| Ubuntu comes with open sourced media codecs |
After you are done checking out the system, you can shutdown the computer by pressing the power button or you can continue on installing the system to your hard drive.
 |
| Pressing the power button |
Installing Ubuntu from the live usb drive
You can install Ubuntu to your hard drive right from the live Ubuntu desktop. Simply double click the desktop icon named “Install Ubuntu …”. That will start the installation process described below.
First you will be able to select the language that will be used in the installation process. After the install you can install other than English or the one you select here.
 |
| Choose your language |
In the second screen the installer will check if you are good to go. It will see if you have enough disk space, if you have an internet connection and if you are connected to power. You can install while running from a battery, but if your battery dies during the install, you might end up with a laptop that will not start anymore. At least not without fixing all kinds of stuff. If you do not have an internet connection you can setup your wireless network here in this dialogue or click on the wireless network icon at the right top of the screen. Below image only shows the network cable icon, but if you have wireless, you should see the wireless icon right there. If you have an internet connection setup, you can select the boxes:
- Download updates while installing
- Install this third-party software
 |
| Download updates and install media codecs |
Then it is time to choose where to install Ubuntu. Below screenshot shows you my installation onto an empty hard disk (on a virtual machine). If you still have another operating system install on your hard disk, like let’s say Windows, you will also see the option to erase your current OS and replace it with Ubuntu or to install Ubuntu along side of your already installed OS. The Ubuntu installer will figure out the ‘best’ partitioning needed. In most cases the suggested partitioning will be OK, but be sure to check it carefully. Windows partions can and will be re-sized without problems. Just be sure you will have enough disk space left for your other OS and that you do not accidentally overwrite / delete data you need. As always, it is wise to have backups of all of your data and that you have restore media for your OS if you ever need to restore your system.
 |
| Choose your partition |
You can opt to encrypt the complete installation of you Ubuntu system, but you can also later choose to encrypt your personal / home folder later on in the installation process. I usually do the later. Then press “Install now” and check and confirm the partitioning.
 |
| Double check you do not overwrite stuff you need |
While the installation is already running in the background you are asked some basic configuration questions like:
Where are you?
Your location is automatically detected via your internet connection and is set for you to confirm. you can change it manually by clicking on the map or typing in a big city name. Your location is used to set all kinds of defaults like date time formatting and currencies.
 |
| Automatic location detection |
Keyboard layout
The layout of your keyboard has already been detected, but it is good to type something here with your language special characters and see if everything works.
 |
| Check your keyboard |
Who are you?
Here you will set up your user account and you can opt to have your home folder encrypted. If you choose to do so, then you cannot ‘Log in automatically’ as your user password is used to decrypt your home folder every time you log in.
 |
| Create an user account |
And now it’s time for a cup of coffee as the installation continues.
 |
| Grab a coffee |
You can preview some of the systems features while waiting for the install to finish.
 |
| Check out those apps |
 |
| Musicplayer |
 |
| Photo manager |
 |
| Go on the web |
 |
| Do some work |
 |
| Accesibility on Ubuntu |
If you wanna see what is happening behind the scenes, you can click the triangle at the left of the installation progress bar. This will open a small terminal where you can see what the installer is doing.
 |
| See what’s happening |
When you have finished your coffee, click “Restart now” and boot into your new Ubuntu system. Enjoy!
 |
| Reboot into Ubuntu |
If you opted to install Ubuntu along side of your current OS, then you will see a boot loader menu when you restart your machine, where you can choose which installed OS you want to start. Once you find yourself always starting Ubuntu, then you have made it to the other side.
Welcome!
